Sweet potatoes (Ipomoea batatas) belong to the family Convolvulaceae, the same as morning glories. Sweet potatoes are enlarged storage roots. They come in various shapes, sizes and colors. I find it fascinating to see the different outside and inside colors. Sweet Potatoes are also differentiated based on texture when cooked. Varieties are “dry” or “moist” fleshed, so it’s important to know which you prefer before planting.
Growing sweet potatoes landed me on a huge learning curve—from starting the “slips,” finding the right time to transplant, getting lucky on a long hot growing season and curing before I could finally enjoy them.
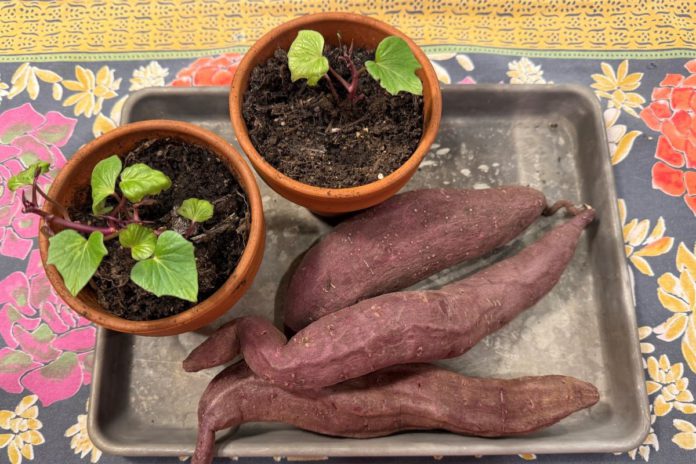
Sweet potatoes are grown from “slips,” or stems with leaves that sprout from a mature potato. I picked my favorite sweet potatoes from the local farmer’s market for slips, and used the water growing method. Insert toothpicks in the sweet potato such that it is vertical with the toothpicks resting on the rim of a jar. Fill the jar with water, leaving a couple of inches of potato above the surface. Leave in a warm spot with indirect light and change water twice weekly. Soon roots will develop, and after a few weeks, slips will start to show as sprouting leaves.

For the water method, it helps to know which is the root side of the sweet potato and ensure that side is submerged. Generally, the tapering end is the root side. If you are unsure, start with any side and if the submerged side starts developing roots in a week, you are on the right track. Otherwise, flip the potato and try again. The other method is to grow slips horizontally by burying about half an inch in moist soil in a container. In this case, determining the root side is not relevant.
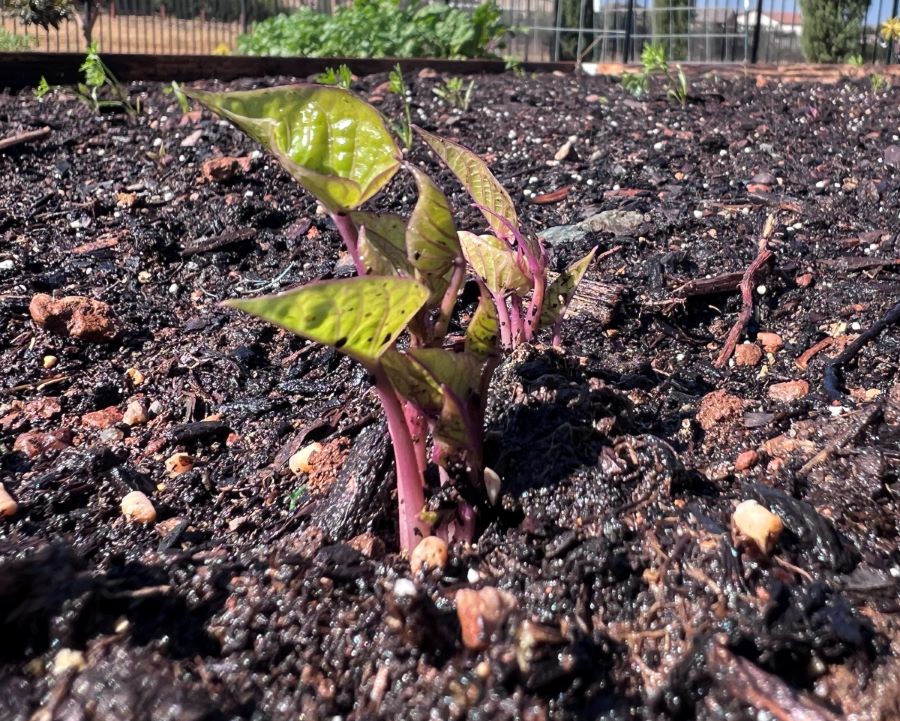
As the slips reach three to four inches, break them off and place in water for a few more weeks until roots develop. Plant in the ground once the slips have developed roots three to four inches long, and the slips are four to five inches long.
Sweet potatoes prefer soft, well-draining, loose and nutrient-rich soil. If the soil is heavy clay, try growing potatoes in raised beds. Since my backyard has naturally occurring clay soil, I have been growing sweet potatoes in a raised bed about 14 inches tall. I also added hardware fabric underneath to protect from rodents.
Sweet potatoes need a long growing season with plenty of warm days and nights. They may struggle in areas with cool summers. They are quite sensitive to cold and planting them too soon can cause foliage to die down and roots to rot. Plant sweet potato slips in the ground after the last frost and when the soil has warmed to at least 70°F. While June is consistently warm, it might not give some varieties enough time to mature before cooler fall days begin again, so plan to plant in late April or early May depending on your microclimate.
Plant sweet potato slips two to three feet apart and allow three feet between rows so the vines have plenty of space to spread. Thoroughly dampen the area, plant slips, gently pack soil around the base and water. After planting, keep slips watered well, as young plants can start to wilt in rising temperatures. Keep the soil moist, but not drenched.
Although applying mulch is recommended to preserve moisture, I have experienced pests like squash bugs, and sweet potato weevils hiding under the chips. I was able to get a handle on them by hand-picking. Irrigation should be reduced as the plants near maturity. To maintain plant vigor, I used a low nitrogen fertilizer a few months in.
As the plants grew, they took over the bed and surroundings, spreading more than a few feet outside the bed. Sweet potato vines prefer to sprawl rather than climb, and mine took over the garden walkway. Another issue that I encountered was stems taking root while they were spreading.
My patience also strengthened when I grew sweet potatoes. This variety took about five months to reach maturity. For harvesting, use a gardening fork or spade to carefully lift sweet potatoes out of the ground. Any cuts or scrapes will cause them to rot. After harvesting, gently brush off dirt but do not wash.
Then came the most challenging part—curing. Ideally, cure at a warm 85°F, and relative humidity of 85%, in a well-ventilated place for a week to 10 days. This process allows their skins to toughen up and the starches to convert to sugars for sweetness.
I do not have a warm and humid place, so I laid them in a shallow plastic tub alongside a pitcher of water and covered the tub with a loose-fitting lid. I inspected them every day to make sure they were not developing mold or rotting. After the curing process, I stored them in a cool dry place with good ventilation. Although the arrangement is subpar, I am happy with the outcome because the sweet potatoes taste fine and have maintained healthy skins even four months post-harvest.
Ways to enjoy sweet potatoes
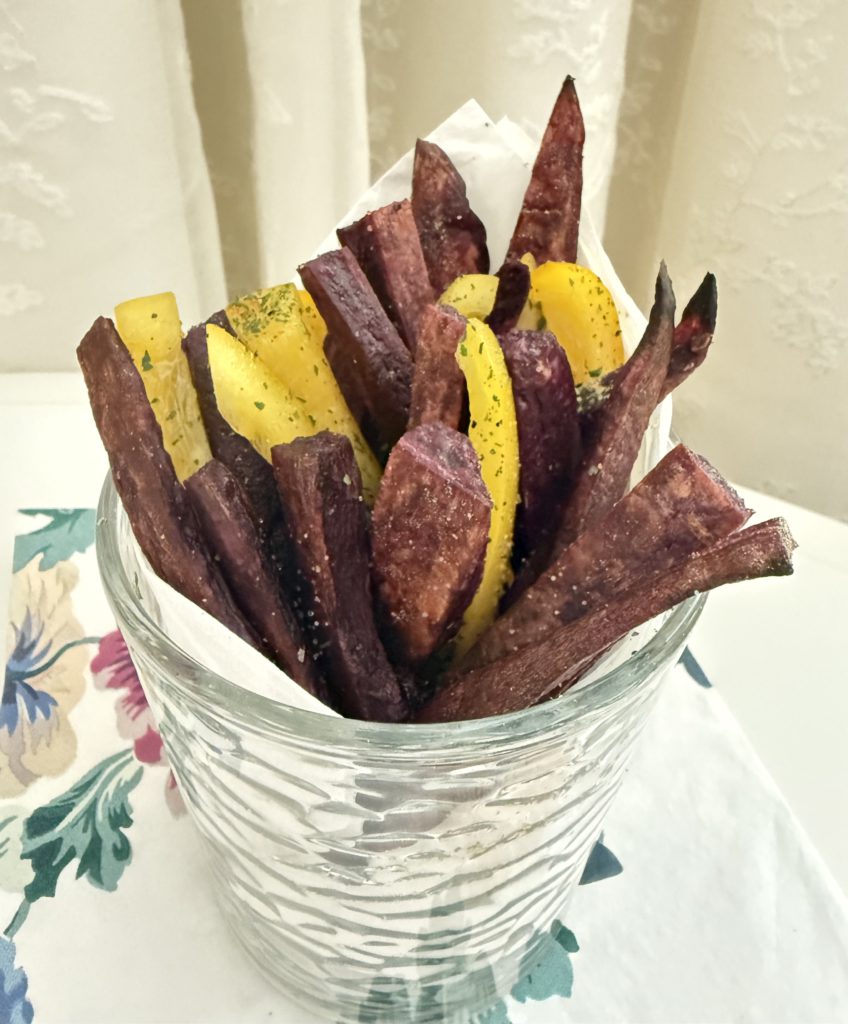
The two varieties I have been growing are the purple ones that are drier in texture and hold their shape when cooked, and the orange ones that become soft when cooked. I add the purple ones to sheet pan roasted vegetables and use them to make oven-roasted fries. The orange variety works well for pies and sweet potato flatbreads or tortillas.
Oven-baked orange sweet potatoes
Wash and scrub clean sweet potatoes and wrap in a piece of foil. Bake at 400°F for about fifty minutes. Check for doneness with a fork and let cool. Slit lengthwise and top with fixings of your choice. I like to add brown sugar, butter and pecans for a wintertime sweet treat.
Oven baked purple sweet potato fries

Wash, scrub, clean and peel sweet potatoes. Skin can be left on if intact and blemish-free. Cut lengthwise, keeping preferred thickness and length. Some recipes call for soaking them in cold water, patting dry and dusting with corn starch before baking to achieve crispier fries. Add to a bowl, drizzle olive oil and toss to evenly coat fries.
Lay flat in a single layer on a baking sheet, cover with foil and bake at 400°F for 18 minutes, flipping mid-way. Remove foil and cook on broil for a few more minutes or until they crisp up. Pair with other raw vegetables, sprinkle garlic salt, herb seasoning, or a spice blend of your choice and enjoy!
Note: This article gives an overview of growing plants, sun and soil requirements, moisture needs etc. Plant health and growth will vary based on various factors. This article is intended for gardening and culinary inspiration only. Please consult your healthcare provider should you have any questions or concerns about adding any new foods or ingredients to your diet.


